DASS394男嫌いなスレンダー美乳の連れ子に媚薬を●ませて一週間。子宮が疼き、理性を失った娘は、嫌がり
DASS449お尻が言うこと、聞かないんです。デカ尻に支配され、本能に抗えないムチムチお姉さんの誘惑。
DASS383旦那には何があっても絶対に言えません。蒸れた部室で息子の顧問と汗をにじませ濃厚唾液を絡ませ
DLDSS196「お願い、先っぽだけでも…」1カ月の禁欲で禁断症状が…解禁後は貪るように本能のまま性欲剥
DASS405義母がドストライクッ!!
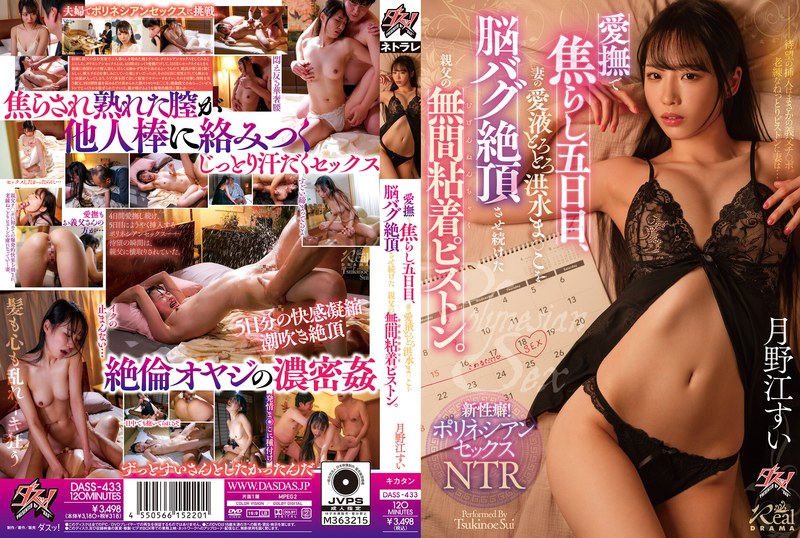
DASS433愛撫で焦らし五日目、妻の愛液とろとろ洪水ま〇こを脳バグ絶頂させ続けた親父の無間粘着ピストン。
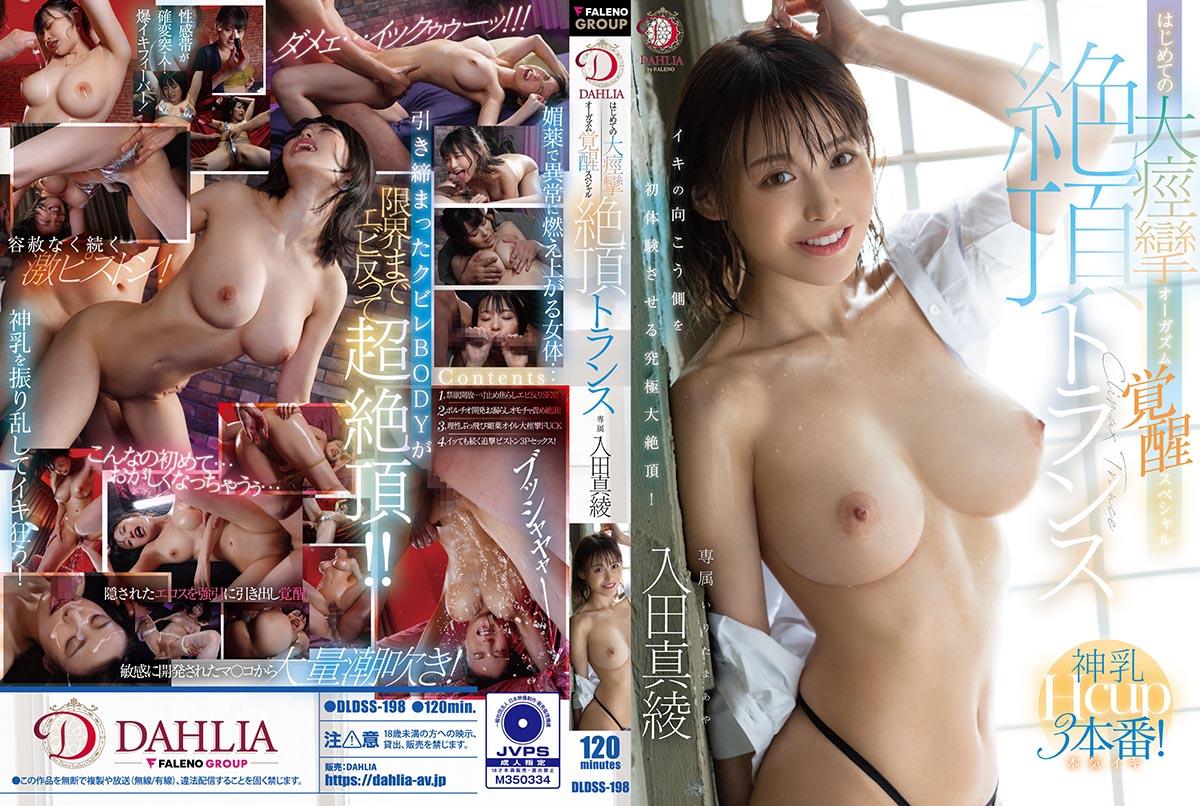
DLDSS198はじめての大痙攣絶頂トランスオーガズム覚醒スペシャル
DASS328アラサー喪女姉を説教レ×プしたら10年振りのチ〇ポに性欲大爆発!隠れ巨乳を激揺れさせてタ
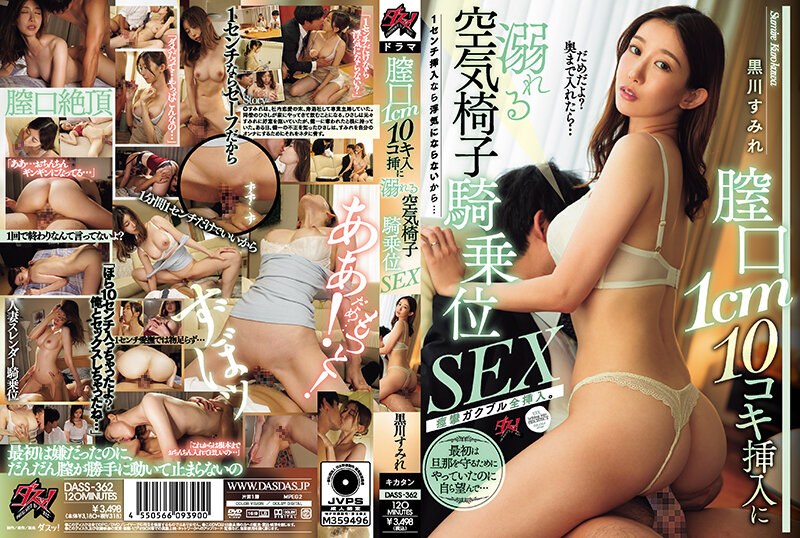
DASS362膣口1cm10コキ挿入に溺れる空気椅子騎乗位SEX
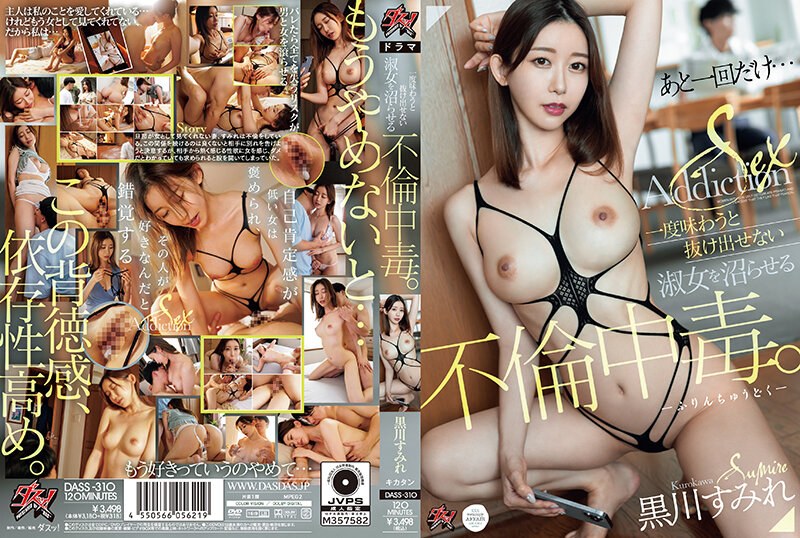
DASS310一度味わうと抜け出せない淑女を沼らせる不倫中毒。
DASS443母さんを女性として意識してしまった僕は、親子の一線を余裕で超えて中出し同棲セックスをしていた。
DASS317綺麗だと憧れていた友達のお母さんとマッチングアプリで再会。緊張の糸が切れた二人は、理性を捨
DASS320男性器を崇める新興カルトに救いを求める巨乳幼馴染を堕とした幻覚トランス乱交
DASS306男女逆転。旦那を奪い合う甘熟痴女ハーレム
DDOB120タマキンクラッシュ!お下劣ママのタマキン玉砕大炎戒
DDOB124お手コキびっちママ
DASS334互いに素性を知った美魔女ママ友と箱ヘルで出逢い、裏引き不倫。
DASS390童貞卒業するなら、2人同時でしょ?子供の時から仲良し3人組だから、両親不在の一週間イチャ
DASS406お前の母ちゃん、ち○ぽ狂いの変態女。息子の親友に女を思い出させられて」オホ声マゾ」にさせら
DASS358本番無しヘルスでまさかまさかの隣人高飛車クソ女と遭遇。弱みを握った僕は何度も何度も呼び出し
DASS330綺麗だと憧れていた友達のお母さんとマッチングアプリで再会。緊張の糸が切れた二人は、理性を捨
DASS448欲求不満なサキュバスおばさんに誘惑され輪姦わされる僕
DDK221発情期トリップ!清純な姪っ子に襲われる!
DDHP054Hカップのボリューム感MAXSEX!イかされやまないコンカフェ嬢が全力交尾![あむ[21]]
DDH226美巨乳セラピストがフル勃起したお客の肉棒に喰らいつく様子を激撮。容赦ない手コキで射精をさせ、
妹子和胖哥司机粉丝车震直播听口音是东北那疙瘩的.
DDT661いやらしいお姉さんのオナニー·ナビゲーター
DASS436卒業までの一ヵ月、色白美尻をねっとり羞恥愛撫で堕としたオヤジ教師の媚薬痴漢。
丰满少妇约炮开房啪啪.
[三级]《渴望性爱实验宠物》
[家庭乱伦]嫂子新买的情趣内衣让我欣赏没忍住内射
极好的少女丝袜足交口交啪啪啪.
貌美尤物被爆插操哭受不了要退单.
老师自拍性教育示范女生自慰高潮潮吹.
[三级]《可疑的K》
DASS366派遣マッサージ師にきわどい秘部を触られすぎて、快楽に耐え切れず寝取られました。
勾引外卖小哥啪啪~深喉口交猛操近距离特写非常诱人.
妹子“长岛冰茶”果真醉人啪啪起来特别爽.
水果派解说被嫉妒点燃爱欲的母亲
DASS367甥っ子は私の彼氏だからね!二股もぎたて叔母サンドイッチ
10musume 070624_01 可愛い娘にはドッキリ即ハメ3P!二連続中出し!
夫妻户外车震啪啪秀第二部边开车边摸JJ副驾上位骑乘抽插.
[极品乱伦]男子对丝袜后妈的捆绑调教
嬌小可愛性格好很愛笑瘋狂插入把妹子也搞爽了呻吟超給力.
[家庭乱伦]外甥拿舅妈丝袜自慰被发现后要求内射
水果派解说被老登盯上的钢琴家姐妹花
妹子bb塞着跳弹又塞入大鸡巴.
DASS386女上司のセクハラ騎乗位でセルフプレジャーとして尻に敷かれる僕。
DDH240スレンダー巨乳という抜群のスタイルで体験入店してきた新人が常連客に促されて本番行為をしてしま
妹子电召到酒店口交还给毒龙最后口爆.
水果派解说被口水超多的痴女护士狂亲猛榨
MAN0003不能碰触的爱情钟宛冰言嘉佑
MAN0004致那些逝去的爱情乐天
10musume 070424_01 制服時代 ~制服がよく似合うむっちり美巨乳ガール
水果派解说被继父操纵的兄妹
老婆今晚和我玩制服诱惑.
[家庭乱伦]推特[喜欢我的大姨子]日常全记录
色情爱的铸造
高清露脸口活最后全部射嘴里.
MAN0006我的小奶狗男友波斯
[三级]《看见年幼儿子的生理遗精》
露脸各种姿势口交最后颜射一脸.
[DLDSS-255] 新人女教師西園寺うた性欲暴走!禁断AV処女作『在教室被學生們輪流注入的淫亂肉體』
DLDSS204 人妻闺蜜水川潤耳边淫语挑逗高潮诱惑 人夫把持不住连续内射失控中出 欲拒还迎的背德性爱实录
帝都豪华套房偷情实录 高冷女神约战富态土豪 肉浪翻涌的狂野激情夜
野外露出!欲求不满美少妇户外跳蛋自慰 车上掰开湿漉蜜穴近距离特写嫩鲍 浓密耻毛摩擦诱惑实录
巨乳教师偷窥日记 - 背后插入教室激情实录
母狗发骚求肏!无套爆菊饥渴难耐 深喉吞屌假阳具插穴 骑乘肥臀白浆狂喷
[发廊偷拍]美发小妹3P双龙戏珠淫乱实录
发情小奶猫浪叫不断 蜜穴湿透求狠狠抽插
DLDSS229 OL女主管湿身诱惑 处男下属当真彻夜持久战 职场潜规则通宵内射实录
沙发激情戏:女优桃瀬くるみ在家居卖场大胆实战 [ABP-107]
[禁忌之恋]爆乳D罩杯离婚亲姐性欲爆发 近亲相奸白浆喷涌浸湿床单
老公上司强上水果派人妻—绝望快感下的禁忌侵犯实录
雪肤主播与渣男床上激战 舔穴挑逗多姿势狂插 白浊汁液灌满蜜穴
骚气学生妹の制服诱惑 教室穿JK被狂插到娇喘连连
[全程露脸]骚妈与女儿母女档合体 黑丝情趣装性感调教 玫瑰调教 乳交舔穴道具play
[姐弟禁忌]心机弟设局调教美艳表姐 表面打工赚钱暗地日夜操干
禁忌母子授业!欲求不满巨乳义母手把手实战教学 中出初体验实录
水果派清纯学生妹被魔鬼教师调教到湿身高潮的私密授课


![DDHP054Hカップのボリューム感MAXSEX!イかされやまないコンカフェ嬢が全力交尾![あむ[21]]](https://la.lashayu.com/upload/vod/20250520-1/916b8d094225fa2b767f3d59832f4644.jpg)


![[三级]《渴望性爱实验宠物》](https://la.lashayu.com/upload/vod/20250520-1/b0cec1a7f6eace36331429246d489ed3.jpg)
![[家庭乱伦]嫂子新买的情趣内衣让我欣赏没忍住内射](https://la.lashayu.com/upload/vod/20250520-1/66557a0d35c27658e0533dade779f7b6.jpg)


![[三级]《可疑的K》](https://la.lashayu.com/upload/vod/20250520-1/1a9b6a601e41c2bb4ee0ab24dfda16ed.jpg)


![[极品乱伦]男子对丝袜后妈的捆绑调教](https://la.lashayu.com/upload/vod/20250520-1/1c16cafa52b8885330e64a23deebf51f.jpg)
![[家庭乱伦]外甥拿舅妈丝袜自慰被发现后要求内射](https://la.lashayu.com/upload/vod/20250520-1/831b68d3fdafdd76df74ed4a72afeb4a.jpg)


![[家庭乱伦]推特[喜欢我的大姨子]日常全记录](https://la.lashayu.com/upload/vod/20250520-1/caa0ed79900f7540c991809ba6fc260a.jpg)


![[三级]《看见年幼儿子的生理遗精》](https://la.lashayu.com/upload/vod/20250520-1/6607568ee772df155389f26aff5db8a6.jpg)
![[DLDSS-255] 新人女教師西園寺うた性欲暴走!禁断AV処女作『在教室被學生們輪流注入的淫亂肉體』](https://la.lashayu.com/upload/vod/20250521-1/fb87fbcbf9d30f7a3316858b83dfcdc8.jpg)

![[发廊偷拍]美发小妹3P双龙戏珠淫乱实录](https://la.lashayu.com/upload/vod/20250521-1/c56c9704a10e88667d5f0d39accad118.jpg)
![沙发激情戏:女优桃瀬くるみ在家居卖场大胆实战 [ABP-107]](https://la.lashayu.com/upload/vod/20250521-1/28b383badd546d119414b1a8c0bebff4.jpg)
![[禁忌之恋]爆乳D罩杯离婚亲姐性欲爆发 近亲相奸白浆喷涌浸湿床单](https://la.lashayu.com/upload/vod/20250521-1/c6836e32528f7f83e7979398d518397f.jpg)
![[全程露脸]骚妈与女儿母女档合体 黑丝情趣装性感调教 玫瑰调教 乳交舔穴道具play](https://la.lashayu.com/upload/vod/20250521-1/4f64470035704cfcd9e9fdda1e24a927.jpg)
![[姐弟禁忌]心机弟设局调教美艳表姐 表面打工赚钱暗地日夜操干](https://la.lashayu.com/upload/vod/20250521-1/937c276cf8b05f9e36918b1a382070db.jpg)